Art Idea: How to Deliver Art Kits
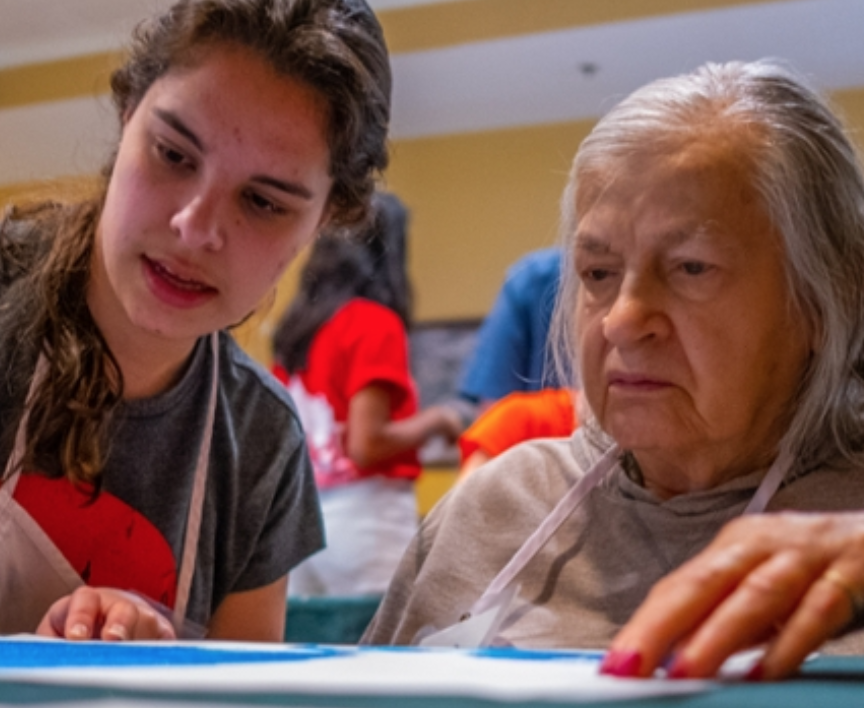
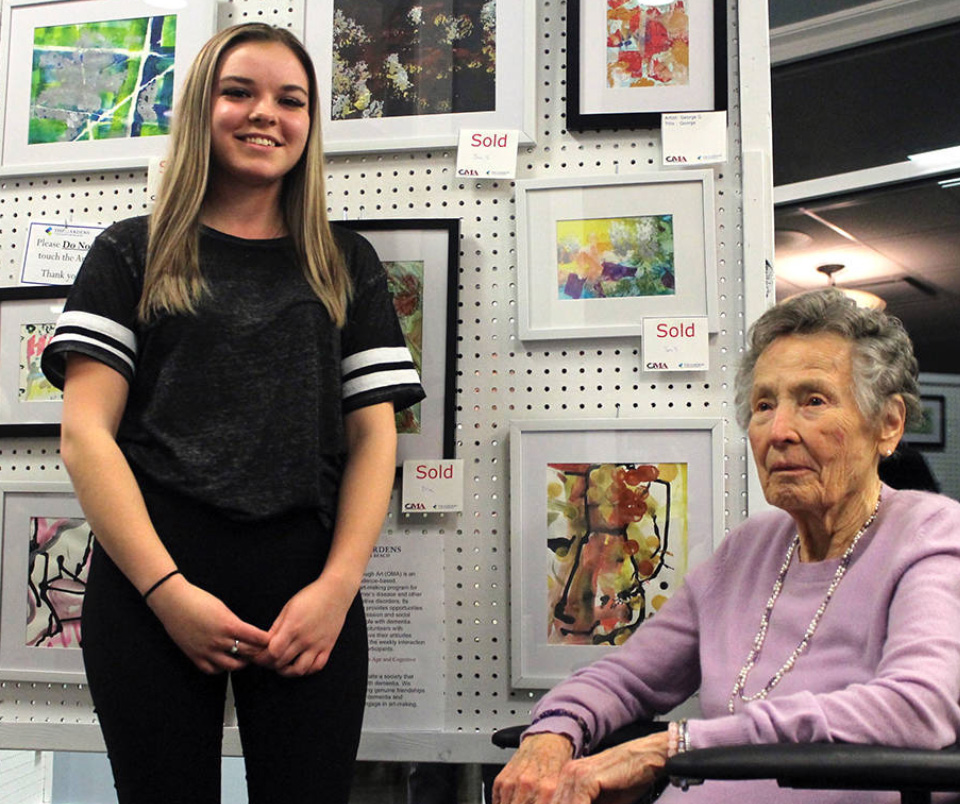
The pandemic did not stop residents at Kavod Senior Life in Denver, CO, to continue the OMA program. Holly Sherman (OMA trained facilitator class of 2021) worked with Counseling graduate students from Regis University to deliver OMA over Zoom. Holly carefully prepared each week’s art supply kits and delivered them to Kavod residents. Learn tips on how Holly prepared OMA art kits for delivery below.
Example Preparation for “Texture Layering” OMA Project

Step One
Materials for step one:
- A lunch tray
- A piece of newsprint or scrap paper to put on top of the tray
- Two containers with lids
- Apron
- Cup to wash brushes in
- Acrylic paint
Steps:
- Lay the newsprint/scrap paper on the tray
- Fold the apron and place it on the tray.
- Place the cup for water on the tray.
- Pour small amounts (about the size of a quarter) of acrylic paint into the containers. Close the containers until you are ready to deliver the kit.
Tips:
- You can ask the artist what colors they would like (maximum 5), or you can provide a variety of different colors if you are working with residents who know how to mix colors well.
- Keep the lid closed until the moment of delivering the kit. Loosen the lid before handing it the artist.
- Be mindful about the containers and lids that you choose. Remember that residents may have difficulties opening extra tight containers.

Step 2
Materials for this step:
- Two paper towels folded in half
- Two sea sponges
- Three Q-tips
- Small, detail paint brush
- Medium sized water color brush paint brush
- Glitter (two choices of color)
- Sponge dauber
- Corrugated cardboard pieces
- Styrofoam shapes
- Pieces of thin netting/ gauze
- Medium sized plastic, re-sealable bag
Steps:
- Place the materials in a plastic, re-sealable bag with the folded paper towel underneath the materials to provide a background.
Tips:
- Do NOT close the plastic bag! It is often difficult for residents to open.
- As you can see, the materials are packed on the side of the paper towel and baggie that does not have the label on it. This decreases distractions for the residents who don’t see very well.
- Be mindful of how you put materials into the bag, put smaller things at the bottom and bigger, easier to grab items at the top of the baggie. This way someone won’t go to grab the sponge and dump the rest of the materials out accidentally.


Step 3
Materials for this step:
- OMA Project Instruction sheet
- OMA Artist Feedback sheet
- Watercolor paper
Steps:
- Place the OMA project sheet over the materials.
- Place the OMA Artist Feedback sheet over the project sheet.
- Place the watercolor paper on top.
- Finally, place all of the paper underneath the baggie and straight onto the tray.
Tips:
- Remind the residents at the end of the OMA session to fill out the feedback sheet and place it back on the tray.
- You can also provide a copy of song lyrics. If you are using Zoom for the session, sing-a-longs are difficult because of the lag. However, you can be substitute the traditional songs with a short piece of classical music before and after the session.
- Be consistent with the way you present the materials so the residents form a sense of familiarity with how the kits will be set up.
- If you are doing online Zoom sessions with people with memory loss, consider making an easy-to-read, step-by-step list of how to use Zoom from the specific device they will be using. For example, make a separate document for residents who use their phone and change the terms to be specific to how Zoom works on a phone.


